 Royale Guru
Blog · Battle review
Battle review: a 3–2 overtime win with Lumberjack and Freeze
A full Royale Guru Battle Review walked through insight by insight: two towers taken with Lumberjack and Freeze, two towers lost to fixable mistakes, and the overtime finish.
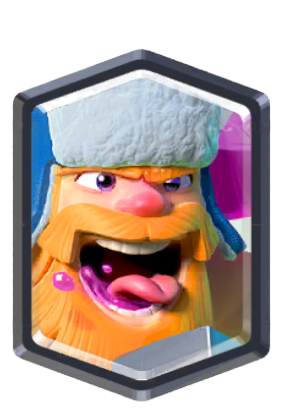
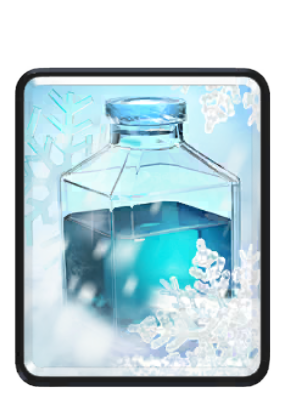
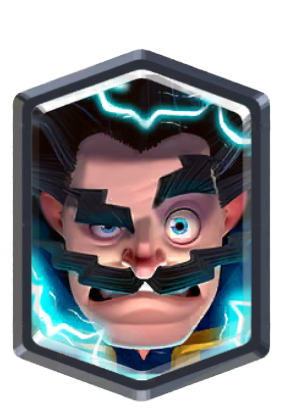
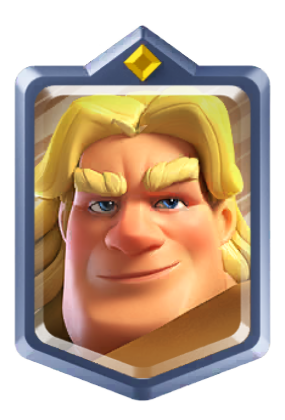
This one went the distance: five towers fell, it went to overtime, and it was won by a King Tower. It's a good game to learn from because both sides of it are clear. The win condition worked exactly as planned, twice. And both towers lost were lost to mistakes the Guru could point to precisely.
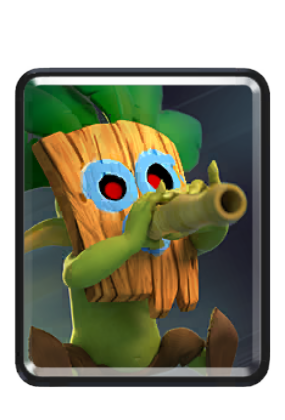
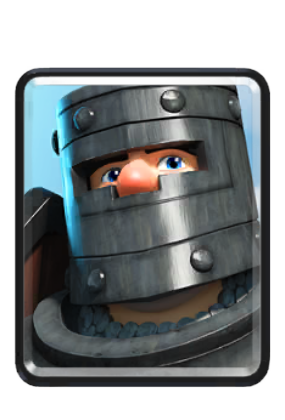
Here are the decks: a Lumberjack and Freeze deck against a Golden Knight and Hog Rider deck with two Witches.
Win 3–2 Trophy Road · +30 trophies
Their deck
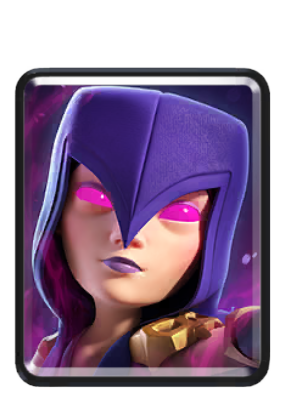
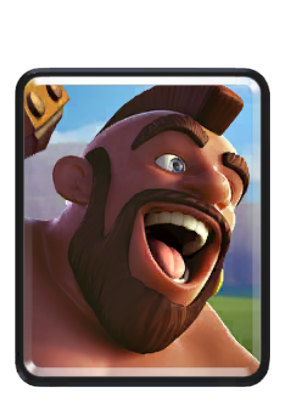
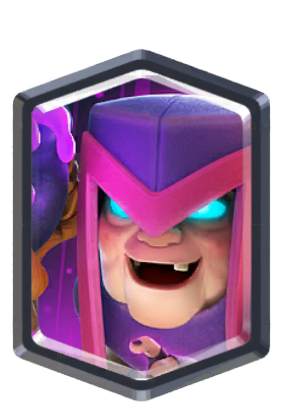
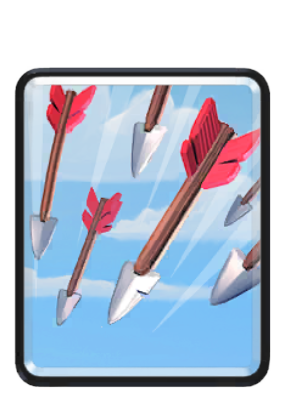
Your deck
The Guru's summary
You won 3-2 by pairing Lumberjack with Freeze at the bridge twice. Each push took a princess tower almost by itself, and you closed the game in overtime with Freeze on their King Tower. You lost your right tower early: after the first push you spent your elixir on an Inferno Tower, and the Barbarians that killed your Lumberjack walked back down your right lane with a Hog Rider and then a Golden Knight. Your left tower fell late to a Hog Rider your Electro Wizard reached too late. You leaked 0 elixir to their 2.77, which kept you ahead in the closing exchanges.
Now the game, insight by insight. The circles show where the card went (red for a mistake, green for a good play) and the arrow shows the fix.
2:48: the opening push works
Lumberjack plus Freeze is a classic pairing: the Lumberjack runs in, the Freeze stops the tower and its defenders from hitting back, and when he dies he drops a Rage that speeds everything around him up.
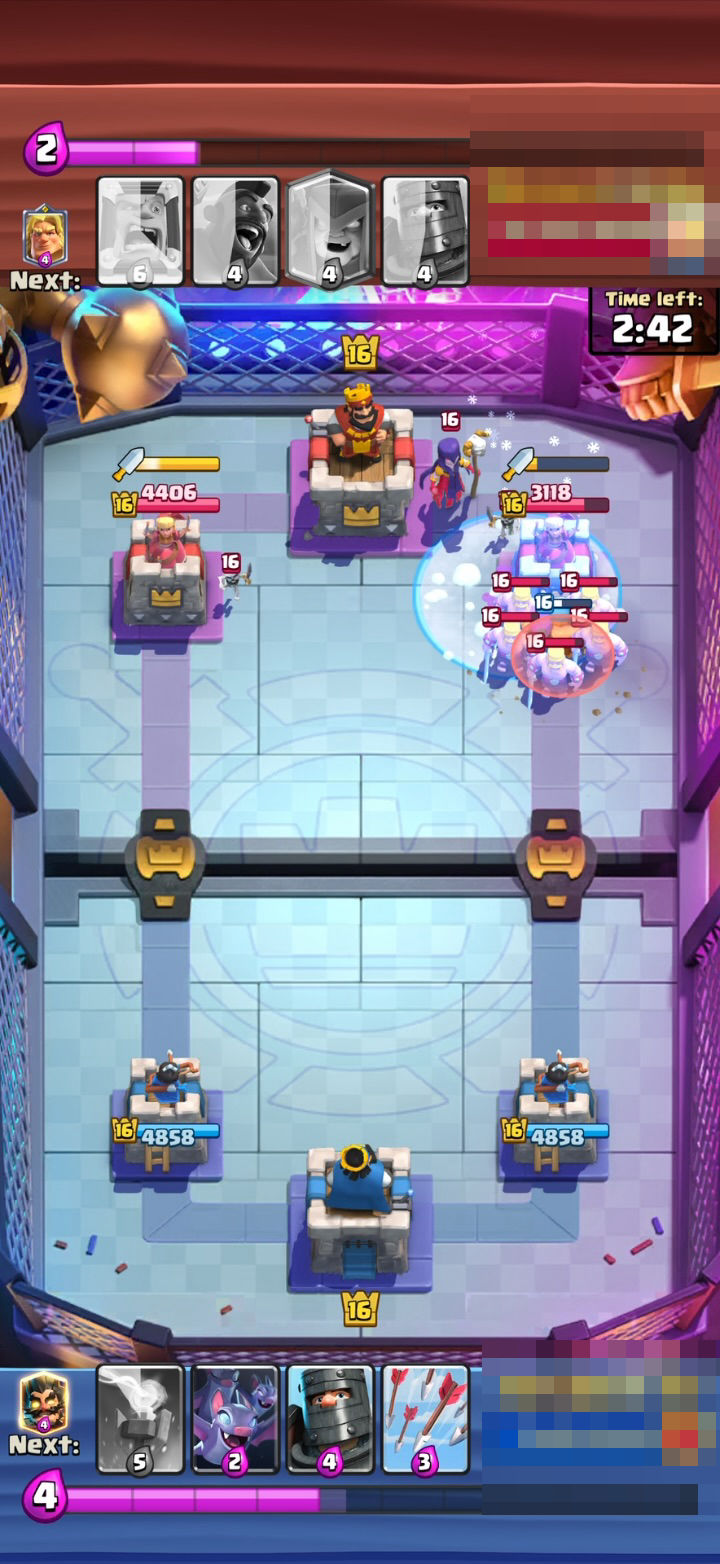
Lumberjack plus Freeze wrecks right tower
What worked
At 2:48 you sent Lumberjack over the right bridge, then at 2:42 froze their right tower and the Barbarians they dropped on him. The Lumberjack hit freely and left his Rage behind, taking about 2,600 off the tower for 8 elixir.
About 2,600 damage for 8 elixir in the first 20 seconds. That's the deck doing its job.
2:36: the wrong answer to what survived
Here's where the first tower went. The Barbarians that killed the Lumberjack were still alive, and Inferno Tower is a single-target building.
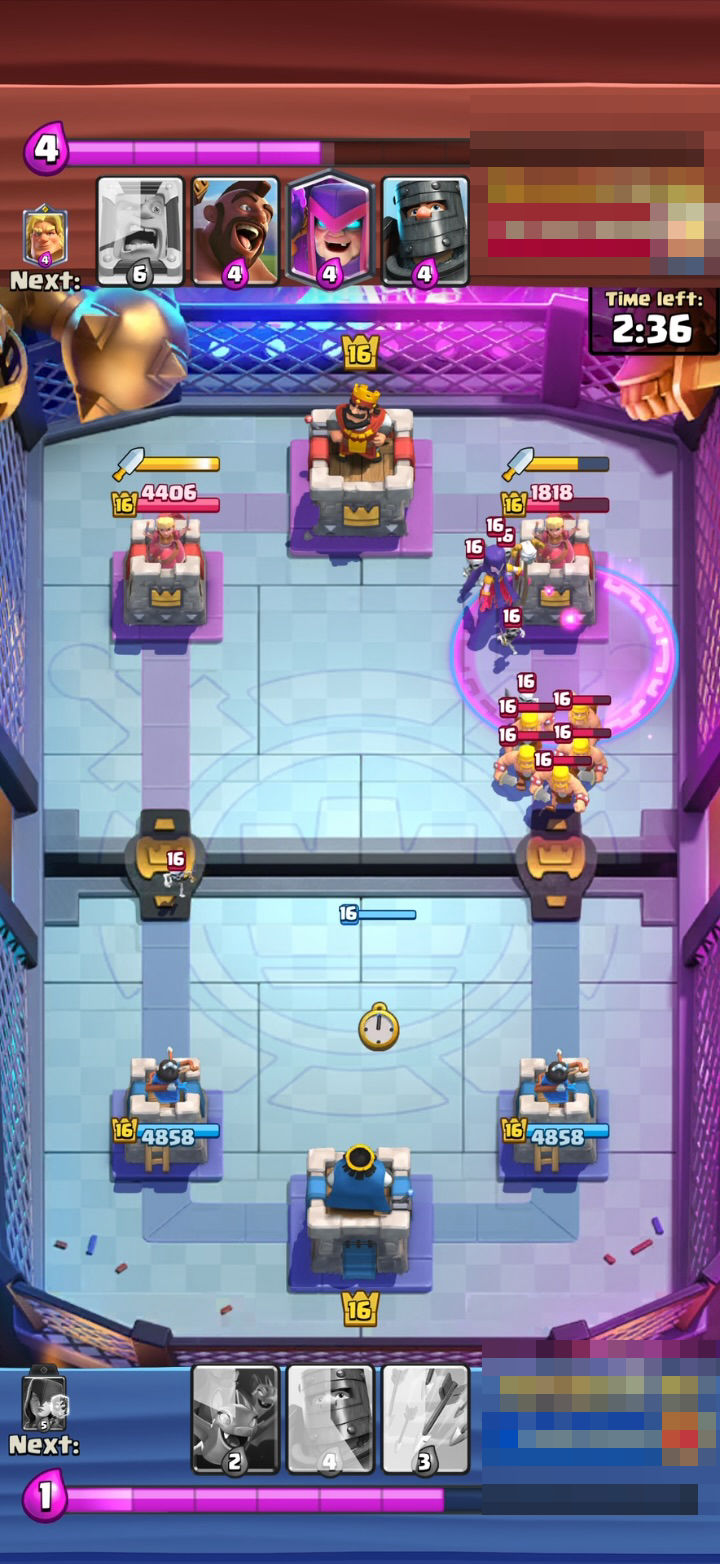
Inferno can't stop five Barbarians
What went wrong
At 2:36 the Barbarians that killed your Lumberjack were walking back toward your right tower, and a Hog Rider joined them at 2:34. You spent 5 of your 6 elixir on Inferno Tower in the middle, which only melts one target at a time. The Barbarians reached your right tower and did about 2,900 damage by 2:16, and you couldn't afford Dark Prince until 2:22.
How to improve
Place Dark Prince in front of your right tower as the Barbarians cross the right bridge. His splash hits all five at once and his shield soaks their hits. Send Bats at the Hog Rider with your remaining 2 elixir, and save Inferno Tower for a lone Hog or Golden Knight.
The lesson: after your push, look at what survives on their side and save the card that beats it. Inferno Tower is for the lone Hog or the Golden Knight. A group of five needs splash. (More on that in Inferno Tower: 6 lessons from real battles.)
2:08: feeding the Golden Knight
Golden Knight's Dashing Dash chains from target to target. Small troops near your tower give him a path.
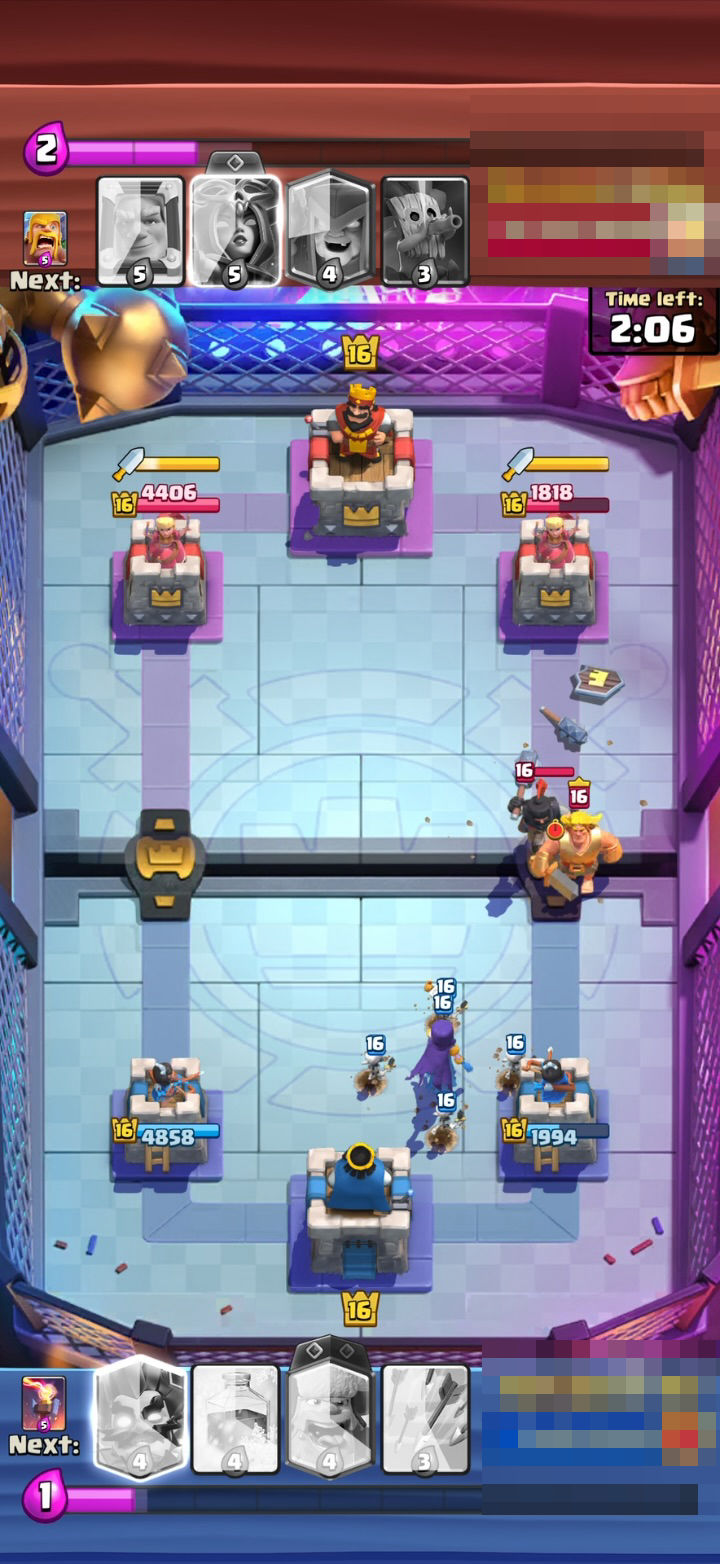
Witch skeletons fed the Golden Knight
What went wrong
At 2:08 your right tower was near 2,000 HP and you spent your last 4 elixir on Witch beside it. Their Golden Knight came down the right lane at 2:06 while you had 1 elixir. Her skeletons gave him a line of targets to hop through, and he finished the tower at 1:58.
How to improve
Against a Golden Knight deck, place Electro Wizard in front of the threatened tower instead. He costs the same, his stun on every hit stops the Golden Knight's swings, and he spawns no small troops for the Dashing Dash to chain through.
1:34: finish the tower
A small one, but it adds up. A tower at about 100 HP keeps shooting until it's gone.
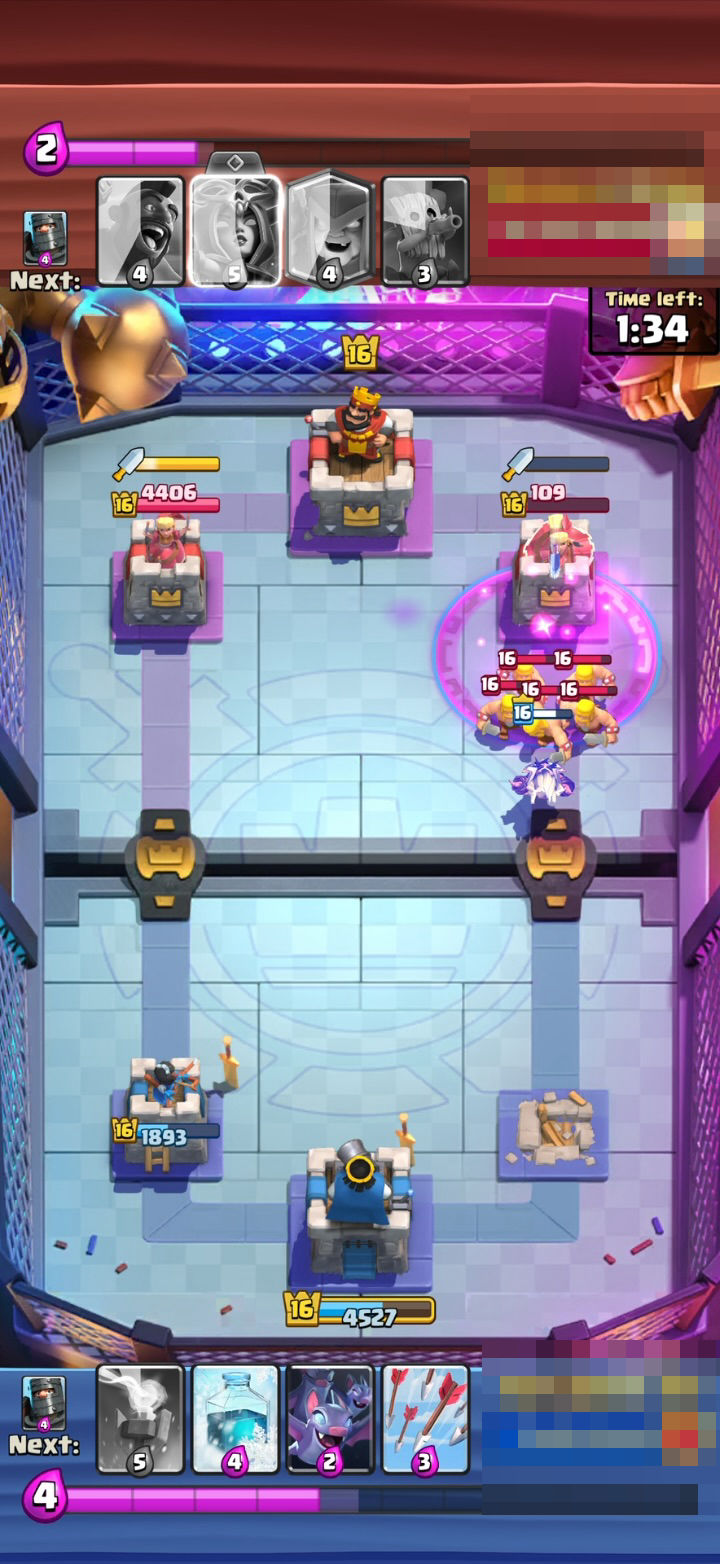
Finish the 109 HP tower right away
What went wrong
At 1:34 their right tower was down to about 100 HP. You had Arrows in hand and 4 elixir, but you waited until 1:15 to finish it. For about 20 seconds that tower kept shooting at your troops on that side.
How to improve
As soon as a tower drops below Arrows damage, finish it with Arrows. That takes a crown immediately and removes a shooter from the lane you're attacking.
0:57: the second push, the same recipe
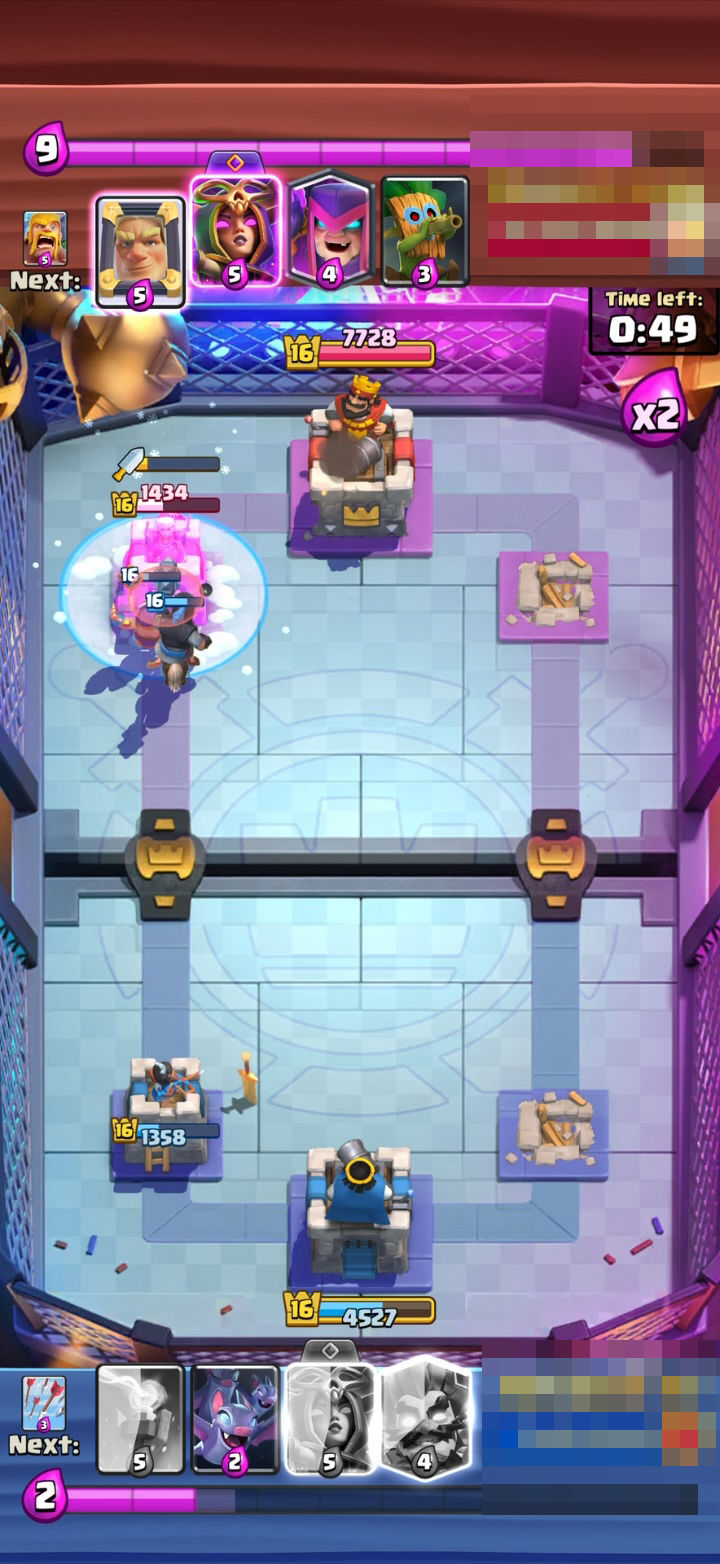
Second Lumberjack plus Freeze takes left tower
What worked
At 0:57 you sent Lumberjack over the left bridge and froze their left tower at 0:51. The tower went from about 4,400 to destroyed in roughly 10 seconds, which put you ahead in crowns for the rest of the game.
From about 4,400 HP to gone in roughly 10 seconds. Two princess towers taken with the same two cards.
0:35: Electro Wizard, two seconds late
In double elixir, a Hog Rider can take a tower in seconds. The answer was in hand. It just wasn't placed in time.
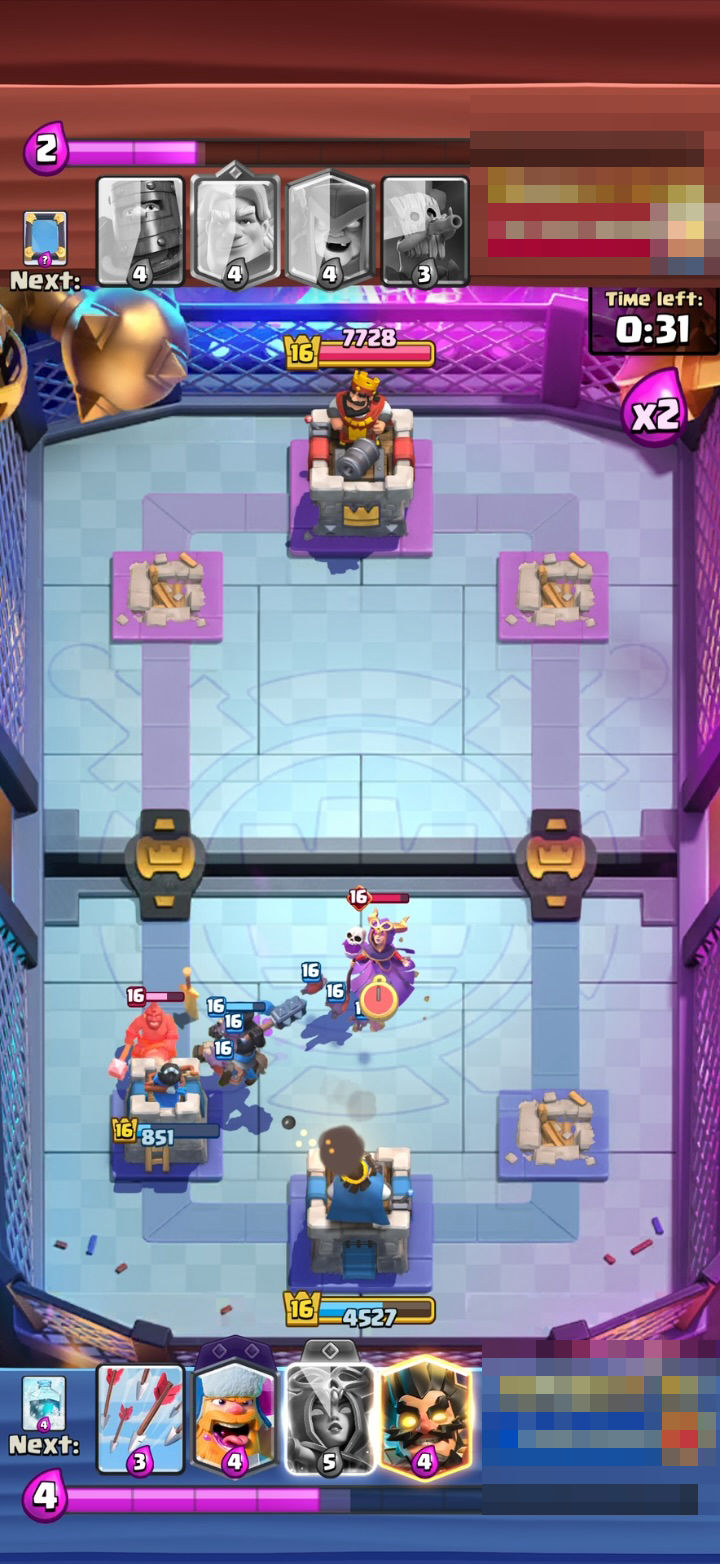
Electro Wizard arrived late for Hog
What went wrong
At 0:35 you spent down to 1 elixir on Dark Prince, and their Hog Rider crossed the left bridge at 0:33. You reached 4 elixir at 0:31 but placed Electro Wizard at 0:29. By then the Hog had taken your left tower from about 1,350 to about 130, and it fell soon after.
How to improve
In double elixir, keep 4 elixir ready for Electro Wizard when their Hog is due. Place him in front of your left tower the moment the Hog crosses: his stun stops it and the tower finishes it. With their Witch close behind, activate the Surging Strikes to stun both at once.
Overtime: the finish
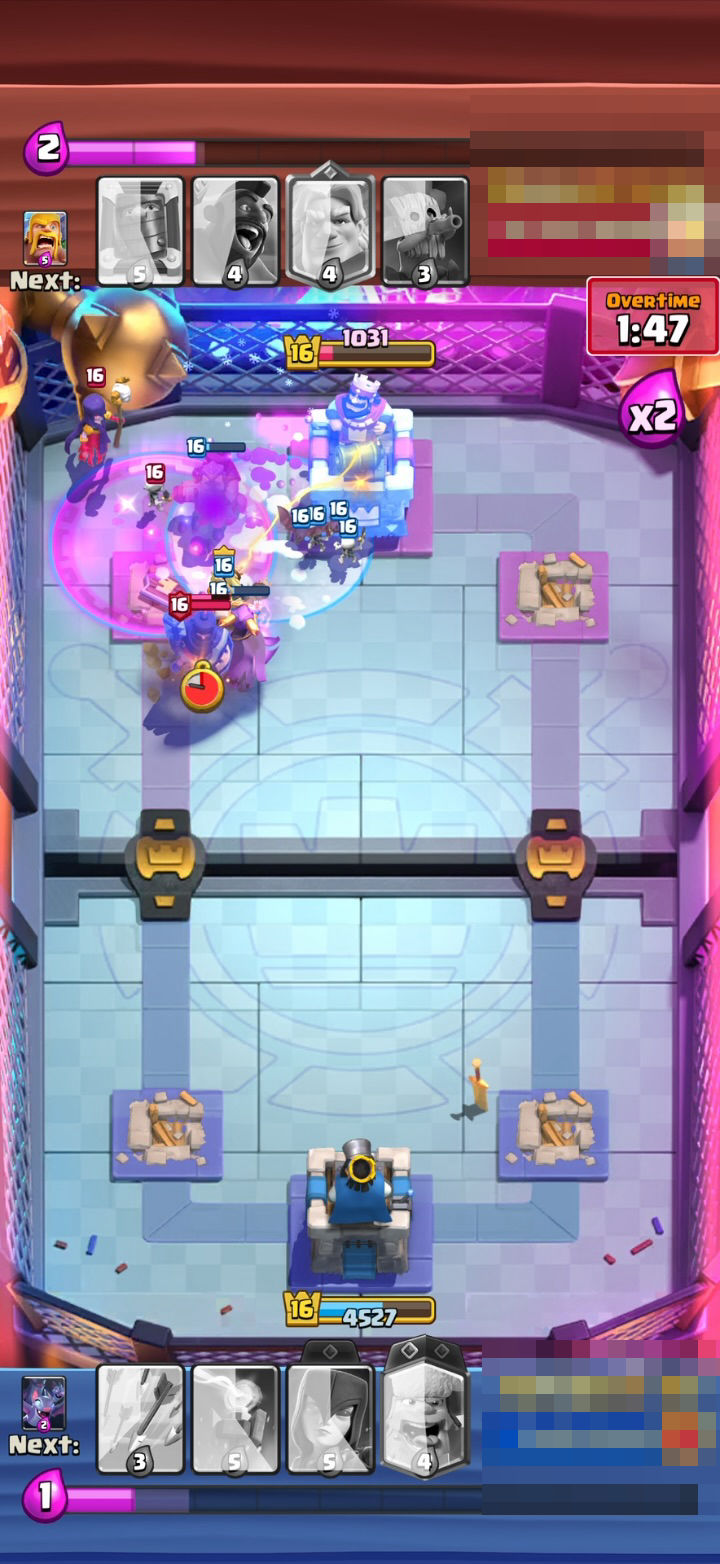
Surging Strikes then Freeze closes overtime
What worked
At 1:51 in overtime, as they dropped Mother Witch and Witch at their King Tower, your Electro Wizard activated the Surging Strikes, which stuns the two closest enemies. Their King Tower then lost about 2,700 HP. At 1:47 you froze the King Tower with about 1,000 HP left so it couldn't shoot back, and your troops finished it for the win.
A clean finish: the Surging Strikes stun the two defenders, and the Freeze stops the King Tower from shooting back for the last 1,000 HP.
What to take from this game
- The win condition was right. Lumberjack plus Freeze took a tower each time it was played.
- Both lost towers came from defense choices, not from being outplayed: the wrong card for a swarm, and a defender placed two seconds late.
- Zero elixir leaked all game, against the opponent's 2.77. That's why the overtime exchanges went this way.
Want this for your own games? Every insight above came from a Battle Review like the one you get in the app.